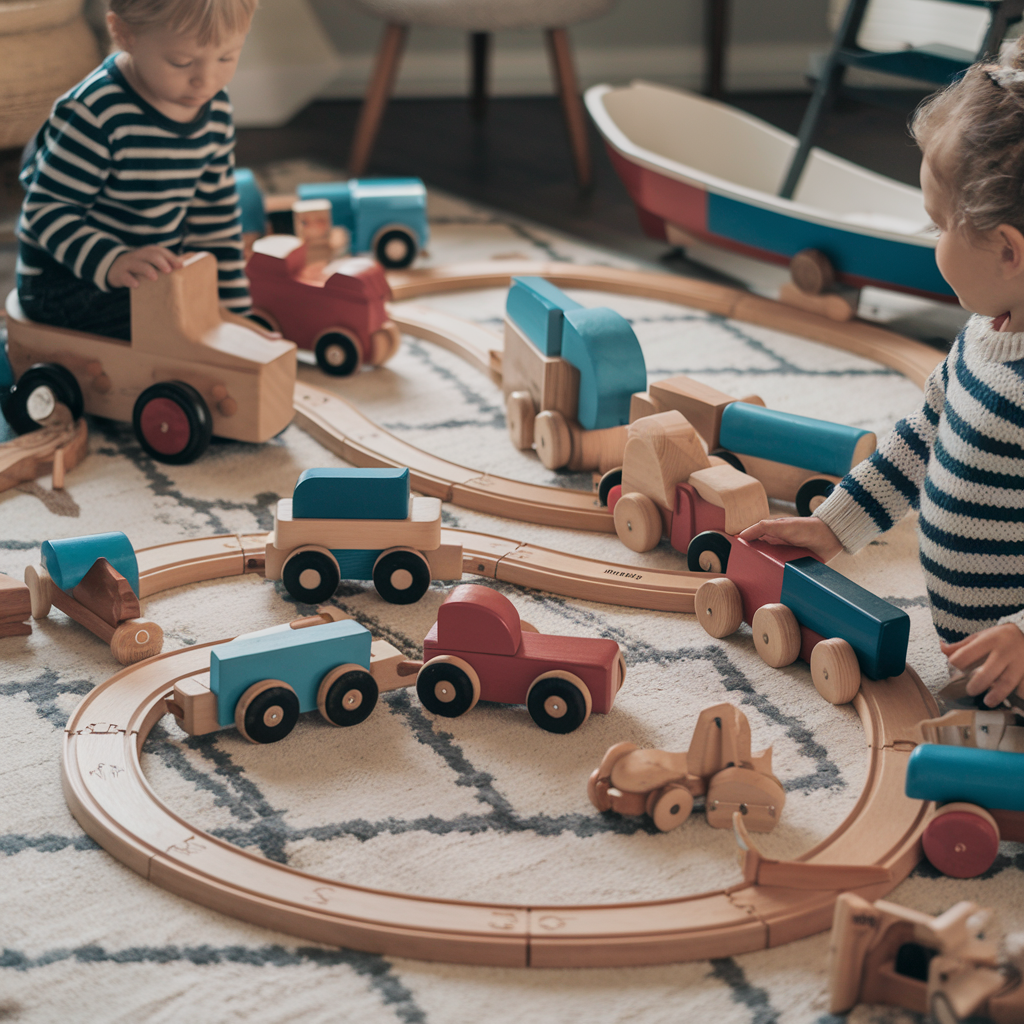
Wooden toys have a unique charm and are incredibly durable, but over time and with regular use, they can show signs of wear like chips, scratches, and stains. Knowing how to restore wooden toys can not only bring back their original look but also extend their lifespan, keeping them safe and appealing for children. Here are some practical and simple steps to restore wooden toys effectively.

1. Assess the Level of Damage
Before starting the restoration process, it’s important to assess the condition of the toy. Check for broken parts, chips, or faded areas. If you need to restore wooden toys with minor cracks or light wear, the process will be fairly simple. However, for toys with more severe damage, such as loose parts or heavy wear, you might need to invest more time and possibly consider replacement parts.
Quick Tip:
- Perform a thorough inspection to determine which materials and tools will be necessary for the restoration.
2. Sand and Smooth the Surface
After assessing the toy, the next step in restoring wooden toys is to sand the surface to remove any rough areas or splinters. Use fine-grit sandpaper (around 220) to smooth out rough spots, ensuring the toy is safe for children to handle. This process also helps remove any old varnish or paint layers, preparing the wood for a fresh coat of finish if needed.
Safety Tip:
- Always sand in the direction of the wood grain to prevent further damage and improve the finish.
3. Repair Cracks and Small Damage
For toys with small cracks or holes, use a wood filler specifically designed for such repairs. Apply it with a spatula to fill in the cracks, and once it’s completely dry, sand it again to level the surface. This step is essential to maintain the toy’s structure and prevent the damage from worsening over time.
Recommended Material:
- Opt for non-toxic wood fillers, ideally matching the original color of the toy for a seamless look.
4. Apply a New Finish
After repairing and sanding, it’s time to apply a protective finish. When restoring wooden toys, always choose water-based finishes, such as vegetable oils or natural waxes, which are safe for children and eco-friendly. These products also help protect the wood from moisture and future wear, keeping the toy looking new and well-preserved.
Suggestion:
- Use linseed oil or beeswax, both excellent natural options to protect and enhance the beauty of the wood.
5. Touch Up the Paint (If Necessary)
If the toy has painted areas and you want to refresh the color, choose non-toxic paints specifically made for children’s toys. For restoring wooden toys with faded colors, apply a light, even coat of paint, covering only the original painted areas. If needed, apply additional coats to achieve the desired color, allowing each layer to dry thoroughly before adding the next.
Painting Tip:
- Use fine brushes for small areas and details to achieve a precise and safe finish for children.
6. Maintenance to Prevent Future Damage
Once the toy is restored, preventive care will help prolong its durability. To restore wooden toys less frequently, avoid exposing them to moisture, which can cause mold or swelling in the wood. Regularly clean them with a dry cloth, and if necessary, apply a new coat of oil or wax every six months to maintain the wood’s shine and protection.
Extra Tips:
- Store wooden toys in a dry place and avoid long exposure to sunlight, which can cause fading.
Conclusion
Restoring damaged wooden toys is a straightforward and rewarding process that not only revives the toy’s beauty and functionality but also extends its lifespan. By learning how to restore wooden toys safely and effectively, you contribute to a more sustainable and conscious way of living, preserving these valuable items for generations.
